create with ags: herbarium
Despite the testing times of recent months, spring has arrived! And what a beautiful one it’s been. Our co-founder and creative director Christina Martini has been using this time to find new and inventive ways of staying occupied, finding inspiration in her surroundings, and using them to create beautiful family treasures. We’re pleased to be sharing her techniques in our new series, #CreatewithAGS.
First up? Build your own herbarium. ’Tis the season for fresh flowers, and with her tutorial you can preserve them for years to come. If you try this at home, share a snap on Instagram for the chance to be featured in our stories, simply #CreatewithAGS.
Stage 1
You will need:
Fresh flowers
Newspapers
A heavy book
Absorbent paper
Step 1:
Collect flowers. We hope you have access to either your own garden or some wild flowers, try to avoid the rare kinds!

Step 2:
Lay your gathered flowers on absorbent paper (i.e. kitchen roll) for an hour or so.

Step 3:
Open your heavy book, lay newspaper on both sides. Top with the absorbent paper, and place your flowers with some space between them. We recommend placing two or three at a time, depending on their size. Repeat on other pages with the rest of your flowers.

Step 4:
Close the book and place it back in your bookcase, between other books to apply pressure on both sides.

Step 5:
Leave to set for two weeks.
Stage 2
You will need:
Stock glue
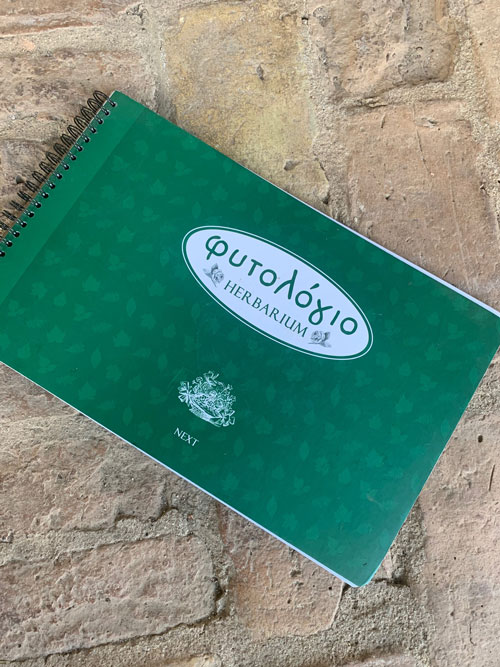
A photo album, or even better, a herbarium - essentially, a book with rice paper between the pages
Step 6:
Open the book carefully, and apply glue to the leaves and stems of each flower, working one at a time. Arrange on the pages of your album, and press carefully.

Step 7:
Research the names of each flower online if you don’t know them. If you are able to find the Latin names, even better! Inscribe your book with the name of each flower underneath.


